 Save
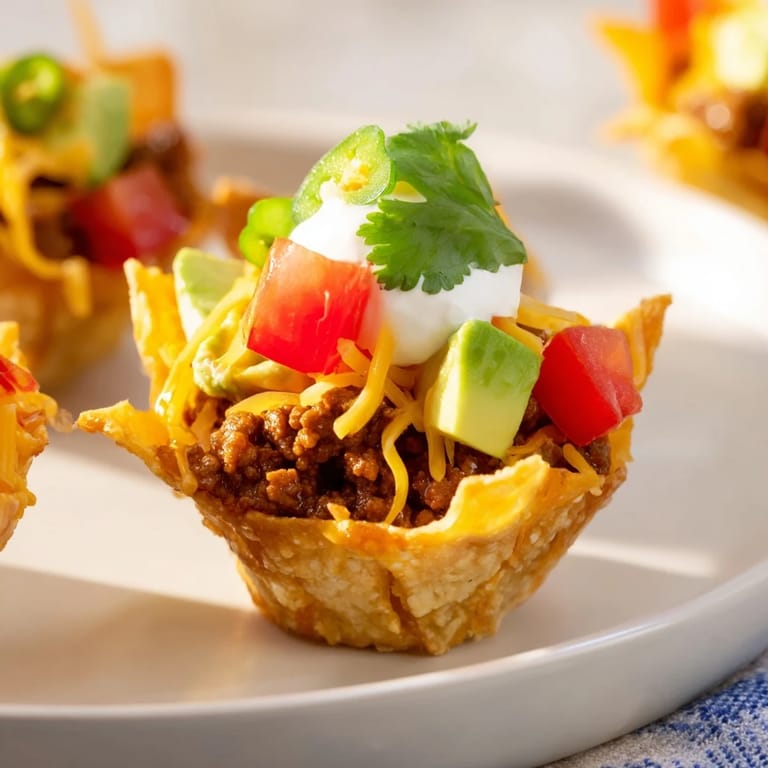
Save My neighbor brought a platter of these to a casual Sunday gathering, and I watched them disappear faster than the chips and salsa. What struck me wasn't just how good they tasted—it was how she'd solved the eternal party problem of keeping warm food actually warm while people mingled. Now whenever I need something that feels special but doesn't demand hours of prep, these mini taco cups are my go-to.
Last Tuesday I made these for my kids' lunch boxes, thinking they'd be curious about something shaped differently. One of them asked if we could make taco night this way from now on, which felt like winning the parenting lottery—a meal they actually volunteered to help with. That's when I realized these aren't just convenient; they somehow make cooking feel more like playing.
Ingredients
- Ground beef (250 g): Use 80/20 blend so the filling stays moist without pooling grease; turkey or chicken work beautifully if you want something leaner.
- Onion and garlic: Dice the onion small so it softens quickly and distributes evenly through the meat.
- Chili powder, cumin, paprika, salt, and pepper: This combination is mild enough for kids but flavorful enough that adults won't feel short-changed.
- Flour tortillas (12 small or cut larger ones): Smaller tortillas fit the muffin cups without too much overlap; if you use large ones, cut 10-cm rounds and don't worry about perfect circles.
- Cheddar and Monterey Jack cheese: Mix both for better melt and depth; don't substitute with pre-shredded if you can help it, as the anticaking agents can make them gluey.
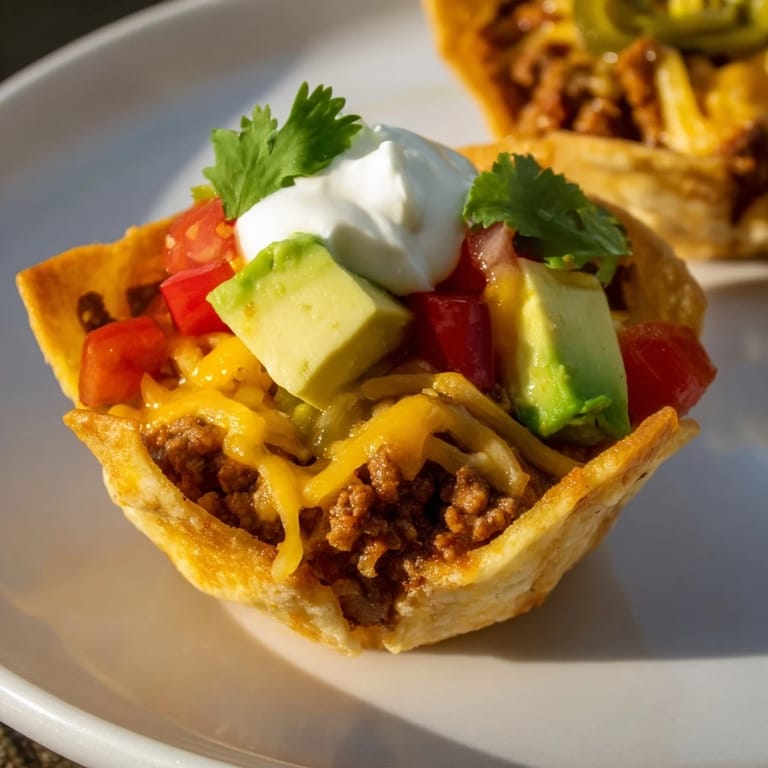
- Toppings (salsa, sour cream, avocado, cilantro, tomato, jalapeños): Add these after baking so they stay fresh; warm toppings get soggy, cold ones taste bright.
Tired of Takeout? 🥡
Get 10 meals you can make faster than delivery arrives. Seriously.
One email. No spam. Unsubscribe anytime.
Instructions
- Get your oven and tin ready:
- Preheat to 200°C (400°F) and grease a 12-cup muffin tin lightly with oil or cooking spray. This prevents tortillas from sticking and lets the edges crisp up without burning.
- Brown the beef:
- Heat a skillet over medium heat and add your ground beef, breaking it into small pieces as it cooks. This takes about 4 to 5 minutes and you'll know it's done when there's no pink left.
- Build flavor with aromatics:
- Add your diced onion and let it soften for 2 minutes, then stir in the minced garlic and cook for just 30 seconds—this stops it from burning and keeps the flavor fresh.
- Add spices:
- Sprinkle in chili powder, cumin, paprika, salt, and pepper, then stir well and cook for 1 minute. You'll smell when it's right—a warm, toasted aroma instead of raw spice powder.
- Shape the tortilla cups:
- Press each tortilla round into the muffin cups, letting the edges fold up to create a little bowl. Don't worry if they look rough—they'll crisp up in the oven.
- Fill and top:
- Divide the beef mixture evenly among the cups, then sprinkle both cheeses on top. The mixture should reach about three-quarters up the sides so the tortillas stay exposed to get crispy.
- Bake until crispy:
- Bake for 10 to 12 minutes until the tortilla edges turn golden and the cheese bubbles slightly. The exact time depends on your oven, so peek at around 10 minutes.
- Cool and finish:
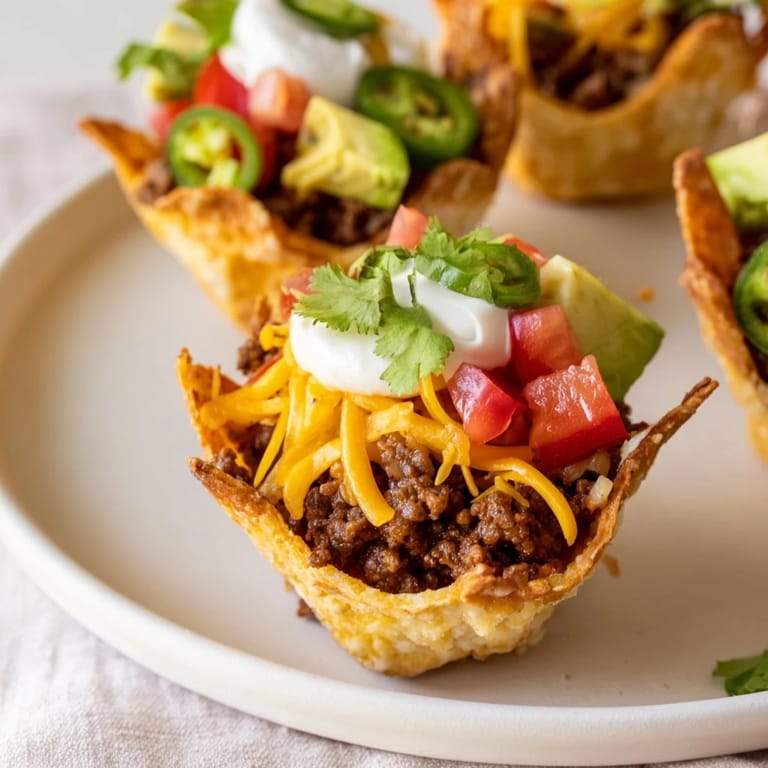
- Let them rest for 3 to 5 minutes so the cheese sets and the tortillas continue crisping. Then add your fresh toppings right before serving so everything stays cool and bright against the warm cups.
 Save
Save What I love most is how forgiving these are—if your tortillas tear a little, no one notices once the cheese melts over them. There's something grounding about serving food that people pick up with their hands and eat in a few bites, completely satisfied.
Why This Works as Party Food
Traditional tacos are delicious but messy—shells crack, fillings spill, and you're always on the hunt for napkins. These cups are sturdy enough to hold everything, small enough that one or two feels like a substantial bite, and they stay warm without needing to be kept under a heat lamp. I've served them at everything from game nights to potlucks, and they're always the first thing to go.
Customizing Your Cups
The beauty of this recipe is how easily it adapts to what you have on hand or what your guests prefer. Ground turkey makes them lighter, black beans transform them vegetarian, and you can dial the heat up or down depending on your crowd. One friend swears by adding a teaspoon of cumin instead of the paprika, another always throws in fresh lime juice with the garlic.
Storage and Make-Ahead Tips
I often make the beef mixture the night before and just warm it gently before filling—saves time and lets the spices develop even more flavor. You can also assemble the cups through the cheese layer and refrigerate them for up to 8 hours, then bake straight from cold (just add a minute or two). Leftovers keep in an airtight container for 3 days and reheat perfectly in a 180°C oven for about 5 minutes.
- Freeze fully baked cups in a single layer, then transfer to a freezer bag for up to 3 months.
- If you're making these for a crowd, prep the filling first so you can work quickly when everyone's ready to eat.
- Let kids help press the tortillas into the tin—they'll be invested in eating something they shaped themselves.
 Save
Save These cups prove that you don't need complicated techniques or long ingredient lists to impress people. Every time I serve them, someone asks for the recipe, and I always smile because it's so straightforward—just good ingredients treated kindly.