 Save
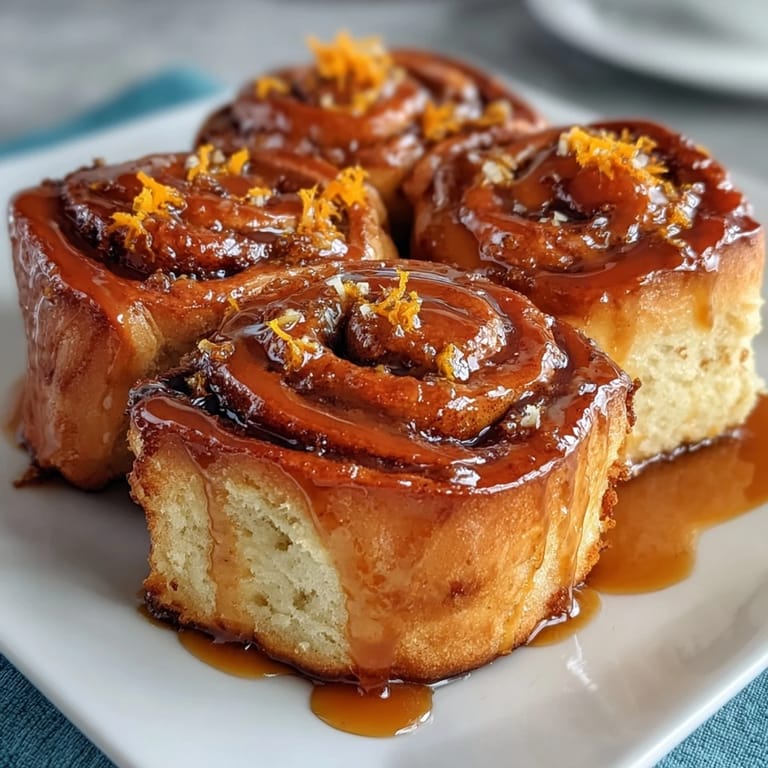
Save The scent of fresh orange zest drifting through the kitchen always signals something special. The first time I made these orange rolls, I was more focused on the vibrant peels than the recipe itself—it felt almost therapeutic, grating the oranges while chatting about weekend plans. My curiosity got the best of me and I tweaked the glaze to be even more citrusy, not realizing how memorable that morning would become. There was laughter, sticky fingers, and anticipation as the dough rose overnight. Even now, the aroma brings back the sense of a home waking up gently, inviting everyone to breakfast.
I remember serving these orange rolls to my siblings on a dreary Sunday, and their sleepy smiles made it absolutely worth the prep. We ended up lingering at the breakfast table, savoring each bite and swapping stories. There was a playful debate over who got the center roll with the thickest glaze. The soft, sweet filling turned a simple morning into a mini celebration. By midday, not a crumb was left on the dish.
Ingredients
- All-purpose flour: Using the right flour keeps your rolls light and fluffy; sift it if you want to avoid lumps.
- Granulated sugar: A little sweetener brings out the orange flavor—don’t skip measuring for the best balance.
- Instant dry yeast: Make sure it’s fresh—I once learned that expired yeast means flat, sad rolls.
- Salt: Just enough salt transforms bland dough into something savory and rich.
- Whole milk: Warm milk helps activate the yeast and enriches the dough—if you substitute, keep the milk just lukewarm.
- Unsalted butter: Melted butter in the dough and softened butter in the filling add tenderness and depth; be patient melting it gently to avoid separation.
- Eggs: Room temperature eggs blend better and give the rolls structure; avoid cold eggs to prevent curdling.
- Fresh orange zest: Zest two oranges for the dough, one for the filling, and a bit more for the glaze—always zest before juicing for easy handling.
- Powdered sugar: Perfect for a silky glaze; sift it before mixing to avoid lumps.
- Fresh orange juice: Adjust according to preference for a runnier or thicker glaze; squeeze just before mixing for flavor.
Tired of Takeout? 🥡
Get 10 meals you can make faster than delivery arrives. Seriously.
One email. No spam. Unsubscribe anytime.
Instructions
- Mix the dry ingredients:
- In a large mixing bowl, whisk together your flour, sugar, yeast, and salt. The dry aroma is the first signal that something good is coming.
- Combine the wet ingredients:
- In a separate bowl, combine lukewarm milk, melted butter, eggs, and vibrant orange zest. The mixture will smell fresh and decadent—stir gently so it blends fully.
- Bring it all together:
- Add wet ingredients into the dry bowl and use a wooden spoon or your hands to mix until a sticky dough forms. The dough may stick to your fingers—embrace the mess.
- Knead the dough:
- Knead by hand or with a stand mixer on low for 7–8 minutes, until the dough is smooth, elastic, and slightly warm from your effort.
- Let it rise:
- Transfer to a greased bowl and cover with plastic wrap. Let it rise in a warm spot for 1–2 hours, until the dough has doubled and feels pillowy.
- Shape the rolls:
- Punch down the dough and roll it out on a lightly floured surface to a 10x16-inch rectangle. It’s okay if your edges aren’t perfect—the filling will hide any flaws.
- Add filling:
- Spread softened butter all over the surface, sprinkle sugar and orange zest evenly, then gently pat the filling in with your fingers.
- Roll and slice:
- Roll up from the long edge, keeping it as tight as possible, then slice into 12 even rolls using a sharp knife or dental floss. Try not to rush—slow cuts yield prettier rolls.
- Arrange and refrigerate:
- Place the rolls into a greased baking dish and cover tightly with plastic wrap. Chill overnight—this step is magic for future you.
- Bring to room temp:
- On baking day, let the rolls sit out for 45–60 minutes until puffy. If your house is chilly, set them near a warm oven for encouragement.
- Bake:
- Preheat oven to 350°F, then bake the rolls for 22–25 minutes until golden and fragrant. Resist opening the oven early—patience rewards you.
- Make the glaze:
- While the rolls bake, whisk powdered sugar, orange juice, and zest until glossy and smooth. Taste, adjust, and imagine drizzling it over the warm rolls.
- Finish and serve:
- Drizzle the glaze over hot rolls and invite everyone to gather. The rolls will be sticky and irresistible.
 Save
Save The day these orange rolls became a tradition was when even my picky cousin asked for seconds. We found ourselves taking turns zesting oranges and laughing at the uneven rectangles. This dish became much more than its ingredients—it brought a little warmth and good humor to weekends. Rolling dough together somehow became a moment for conversation. Now, every batch feels like a shared accomplishment.
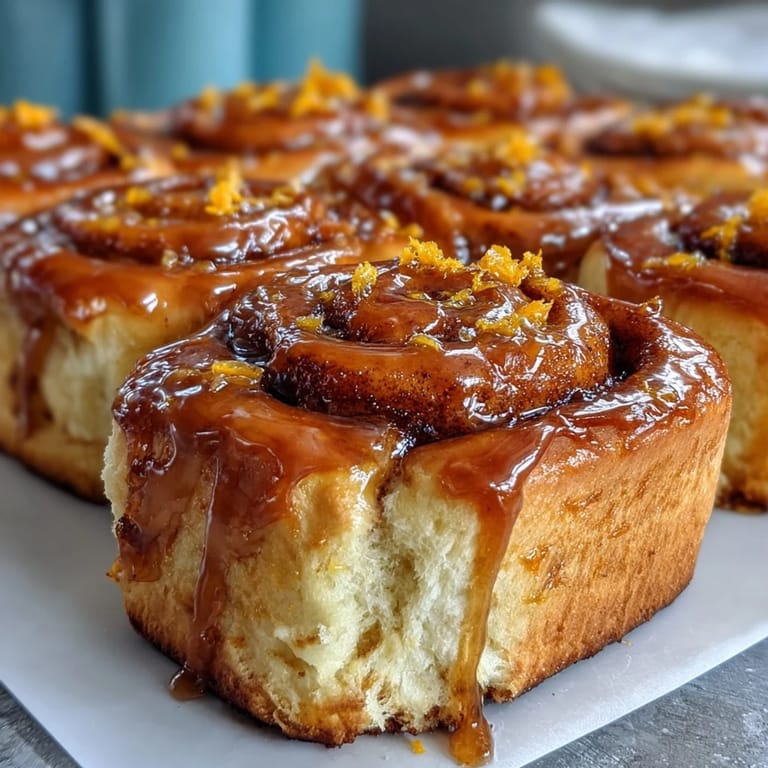
The Sweet Sound of Morning
When the oven timer dings and the scent of orange escapes, it’s pure joy. The sticky glaze is best applied while the rolls are still warm, letting it cascade and soak in. I learned that noisy kitchen mornings mean you’re doing something right—there’s laughter in the air and the occasional musical spill. Don’t be afraid to get messy; sticky fingers are part of the fun. Those noisy moments are always the best ones.
Making the Dough Fail-Proof
Resting the dough overnight is a lifesaver for busy days—it develops flavor and texture while you sleep. If your kitchen is too chilly, tuck the bowl into the oven with just the light on. The dough can be sticky—I rub my hands with a tiny bit of butter to keep it from clinging. Working with dough is forgiving, as long as you listen to its feel and adjust flour gently. Don’t stress over perfection; practice brings confidence.
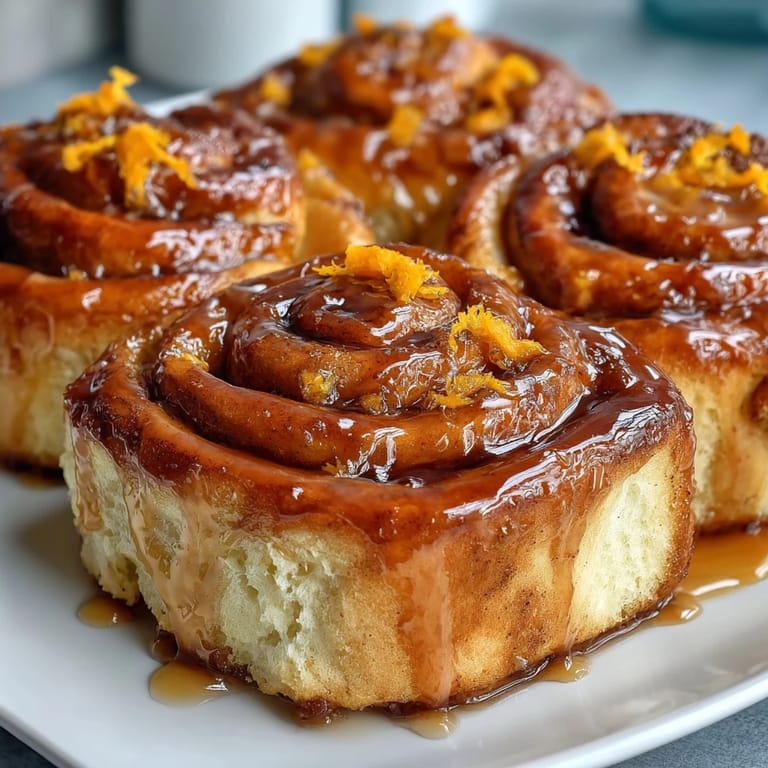
Orange Glaze Wins Every Time
Finding the balance between tangy and sweet for the glaze is my favorite part. Fresh orange juice makes the difference, and a little extra zest brings sparkle. Don’t over-thicken—let the glaze be runny enough to drizzle but thick enough to cling. The final result will have everyone licking their plates.
- If you have leftover glaze, use it to brighten up pancakes the next day.
- Warm rolls make the glaze soak beautifully—wait until they’re just out of the oven.
- Keep a wedge of orange nearby for an extra hit of citrus if needed.
 Save
Save Orange rolls are a gift to yourself and anyone lucky enough to share them. Whether served at brunch or as a sweet breakfast surprise, the kitchen will be full of smiles.
Recipe FAQs
- → Can I substitute the milk with orange juice?
Yes, for extra richness and brighter flavor, substitute up to half the milk with orange juice in the dough.
- → Do I need a stand mixer for kneading?
No, you can knead the dough by hand for about 7–8 minutes until it's smooth and elastic.
- → How do I cut evenly sized rolls?
Use a sharp knife or dental floss to slice the rolled dough into 12 equal pieces for uniform baking.
- → Is overnight refrigeration essential?
Chilling the shaped rolls overnight develops flavor and makes morning preparation easier and stress-free.
- → What adds extra flavor to the filling?
A pinch of cardamom or extra orange zest enhances the citrus flavor and adds a warming, aromatic note.
- → How do I serve the rolls?
Drizzle glaze over warm rolls and serve for breakfast or brunch alongside coffee or Earl Grey tea.