 Save
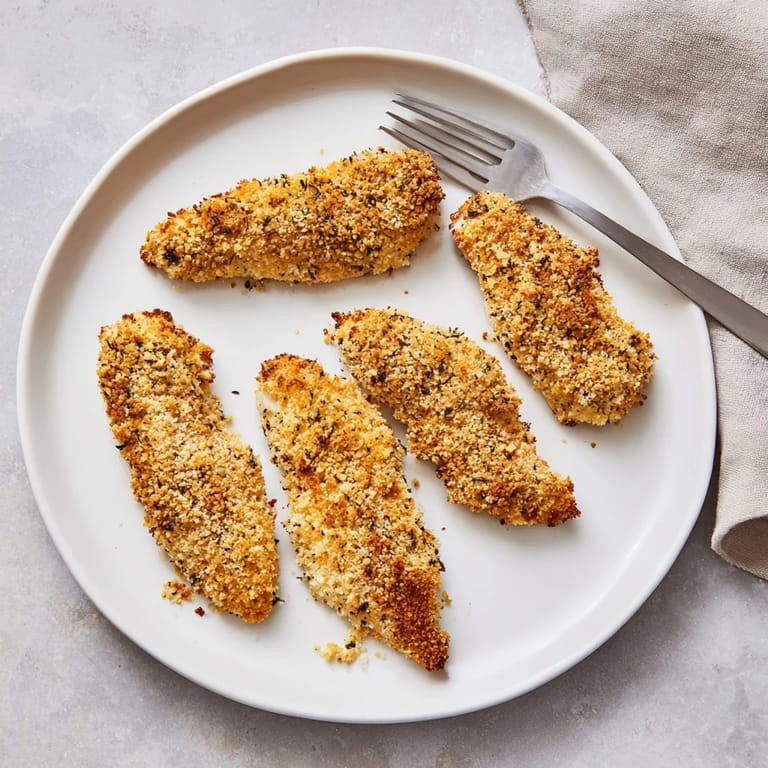
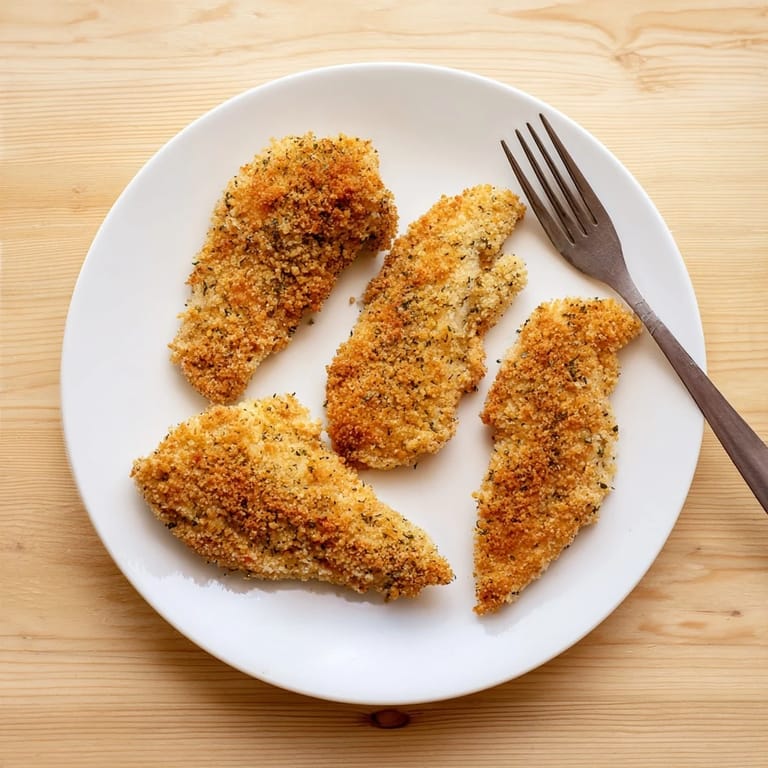
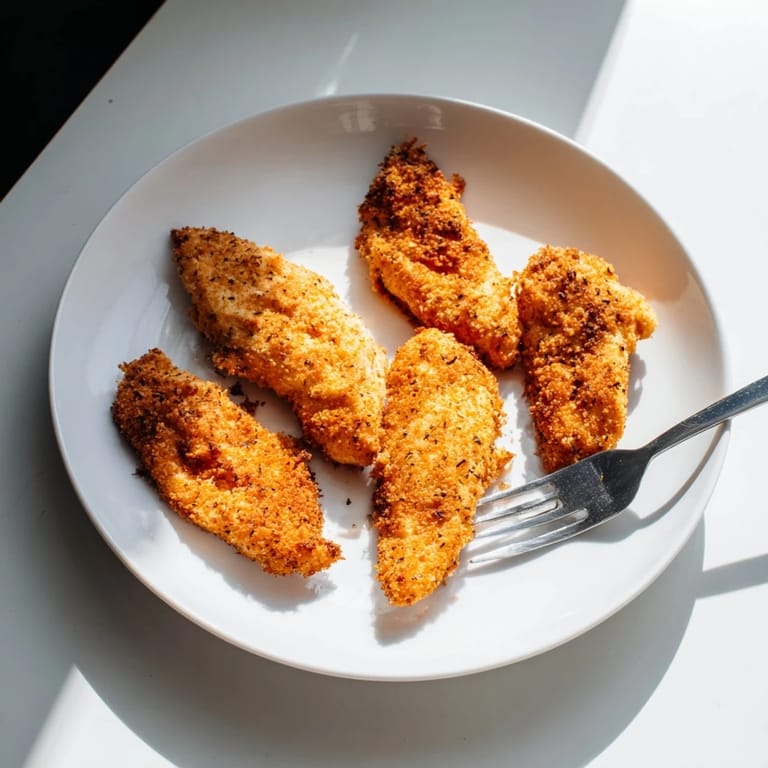
Save My oven timer went off right as my neighbor knocked on the door, and I opened it to the smell of toasted breadcrumbs wafting into the hallway. She peeked past me, curious, and I invited her in to try what would become my most requested weeknight dinner. These chicken strips had just come out of the oven, golden and crackling, and we stood there in the kitchen pulling them apart with our fingers, laughing at how something so simple could taste this satisfying. I haven't bought frozen tenders since.
I made these for a cousin's birthday party once, setting them out on a platter with three different dipping sauces. The kids devoured them first, then the adults circled back for seconds, trying to look casual about it. By the end of the night, someone asked if I'd cater their next event, and I realized I'd accidentally made something that felt both homey and a little bit special.
Ingredients
- Boneless, skinless chicken breasts or tenders (500 g): Tenders cook faster and stay juicier, but breasts work beautifully if you slice them into even strips so everything finishes at the same time.
- Salt (1/2 tsp) and ground black pepper (1/4 tsp): Season the chicken directly so the flavor goes deeper than just the coating.
- All purpose flour (100 g): This first layer helps the egg mixture stick and creates a foundation for the panko to cling to.
- Large eggs (2) and mayonnaise (2 tbsp): The mayo adds richness and helps the coating stay put, Greek yogurt works if you want something lighter and tangier.
- Panko breadcrumbs (120 g): Their jagged texture catches more air in the oven and crisps up in a way regular breadcrumbs just can't match.
- Dried Italian herbs (1 1/2 tsp): A blend of oregano, thyme, and basil brings warmth without overpowering the chicken.
- Garlic powder (1/2 tsp) and smoked paprika (1/2 tsp): These two add depth and a faint smokiness that makes people ask what your secret is.
- Cayenne pepper (1/4 tsp, optional): Just enough to wake up your taste buds without making things spicy.
- Olive oil (2 tbsp): A light drizzle or spray before baking turns the panko golden and crisp instead of pale and dry.
Tired of Takeout? 🥡
Get 10 meals you can make faster than delivery arrives. Seriously.
One email. No spam. Unsubscribe anytime.
Instructions
- Preheat and Prep:
- Set your oven to 220°C (425°F) and line a baking sheet with parchment paper or, even better, a wire rack so air circulates under the chicken. This small step makes a big difference in how evenly everything crisps.
- Prepare the Chicken:
- Pat the chicken completely dry with paper towels, then slice it into strips about 2 cm wide. Season both sides with salt and pepper, pressing gently so the seasoning sticks.
- Set Up Your Breading Station:
- Arrange three shallow bowls in a row: flour in the first, whisked eggs and mayonnaise in the second, and panko mixed with all the herbs and spices in the third. This assembly line keeps your hands from getting too messy.
- Coat the Chicken:
- Dredge each strip in flour, shake off the excess, dip it into the egg mixture until fully covered, then press it firmly into the panko so every surface is coated. Lay each piece on the prepared baking sheet as you go.
- Add the Finishing Touch:
- Drizzle or spray the coated strips lightly with olive oil, making sure you hit the tops and any bare spots. This is what turns them golden instead of just tan.
- Bake:
- Slide the sheet into the oven and bake for 18 to 22 minutes, flipping the strips halfway through so both sides get crispy. They're done when the coating is deep gold and the internal temperature hits 74°C (165°F).
- Rest Before Serving:
- Let the chicken sit for 2 to 3 minutes after pulling it from the oven. The coating will firm up and become even crunchier as it cools just slightly.
 Save
Save One evening I served these with a big bowl of honey mustard and a pile of carrot sticks, and my friend looked up mid bite and said it tasted like the kind of meal you'd get at a diner, but better. That's exactly what I was going for: something familiar and comforting, but made with enough care that it feels like more than just another Tuesday.
Serving Suggestions
I like to put out a few different dipping sauces so everyone can choose their own adventure. Honey mustard is the classic, ranch feels indulgent, and spicy sriracha mayo brings a little heat. A simple green salad or roasted vegetables on the side keeps things balanced, and if you're feeding a crowd, these pair beautifully with crispy oven fries or a tangy coleslaw.
Make Ahead and Storage
You can bread the chicken strips a few hours ahead and keep them in the fridge on the baking sheet, covered loosely with plastic wrap. When you're ready to eat, just drizzle with oil and bake as directed. Leftovers stay good in an airtight container for up to three days, and they reheat surprisingly well in a hot oven or air fryer, crisping back up almost like they're fresh.
Variations and Swaps
If you want to go gluten free, swap in gluten free panko and flour without changing anything else. Adding a handful of grated Parmesan to the panko brings a salty, nutty richness that's hard to resist. For a lighter version, use Greek yogurt instead of mayonnaise in the egg wash, it adds tang and cuts a little fat without sacrificing moisture.
- Try swapping the Italian herbs for a Cajun spice blend if you want a bolder, spicier flavor.
- Brush the baked strips with melted butter and toss them in hot sauce for a buffalo style twist.
- Serve them over a Caesar salad with shaved Parmesan for an easy weeknight dinner that feels like you tried harder than you did.
 Save
Save These chicken strips have earned a permanent spot in my weekly rotation, and I hope they do the same for you. There's something deeply satisfying about pulling a pan of golden, crackling chicken from the oven and knowing it's going to make everyone at the table happy.
Recipe FAQs
- → How do I keep the chicken strips crispy after baking?
Use a wire rack on the baking sheet to allow air circulation around all sides of the chicken. This prevents moisture buildup on the bottom. Additionally, let the cooked strips cool for 2-3 minutes on the rack before serving, which allows the coating to set and maintain its crunch.
- → Can I prepare these ahead of time?
Yes, you can bread the chicken strips up to 4 hours ahead and refrigerate them on a baking sheet. This actually helps the coating adhere better. You can also freeze breaded strips for up to 3 months—simply add 5-7 minutes to the baking time when cooking from frozen.
- → What's the best way to check if the chicken is cooked through?
Use a meat thermometer to verify the internal temperature reaches 74°C (165°F) at the thickest part of the strip. Alternatively, cut into the thickest piece—the juices should run clear with no pink remaining. This ensures food safety and prevents dryness.
- → How do I make this gluten-free?
Substitute all-purpose flour with a gluten-free flour blend and use certified gluten-free panko breadcrumbs. Verify that your mayonnaise or Greek yogurt is gluten-free by checking labels. All other ingredients are naturally gluten-free, making this modification straightforward.
- → Can I use chicken thighs instead of breasts?
Yes, boneless chicken thighs work well and stay more moist than breasts. Cut them into similar-sized strips for even cooking. Thighs may require 2-3 extra minutes of baking time. Their higher fat content creates juicier results while maintaining the crispy exterior.
- → What dipping sauces pair best with these strips?
Honey mustard, ranch dressing, and sriracha mayo are excellent choices. For lighter options, try Greek yogurt-based sauces, lemon aioli, or a simple garlic herb dip. A sweet and spicy sauce balances the savory herbed coating beautifully.