 Save
Save My neighbor Maria handed me a tiny glass of limoncello one summer evening, and I watched her face light up as I took that first sip—the way it hit my palate with this bright, almost electric citrus punch followed by a smooth, honeyed finish. She told me she'd been making it for years, that it was her grandmother's recipe from somewhere near Naples, and that the secret wasn't just the lemons but the patience. That night, I became obsessed with understanding how something so simple—just fruit, alcohol, and sugar—could taste like bottled sunshine.
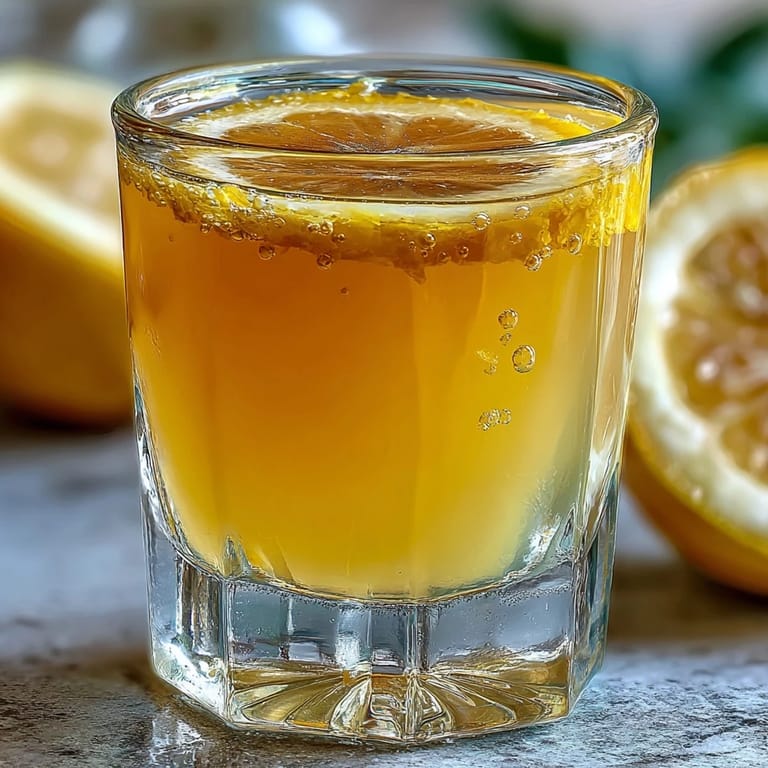
I made my first batch during a particularly stressful November, and honestly, checking on that jar every couple of days became a small ritual—a quiet moment where I'd hold it up to the light and watch the alcohol deepen to this golden amber color. By the time I strained it in January, my whole kitchen smelled like a Sicilian lemon grove, and I remember thinking that even if it turned out mediocre, the process itself had already been worth it.
Ingredients
- 8 large unwaxed organic lemons: The skin is where all the fragrant oils live, so organic matters here—you're literally extracting the essence of the peel, and any wax coating will affect both taste and safety.
- 750 ml 95% pure grain alcohol (or 100-proof vodka if unavailable): The high alcohol content extracts the oils efficiently and preserves the final product; lower proof spirits will dilute the intensity you're after.
- 600 ml water: This dilutes the syrup to the right balance, preventing the limoncello from becoming cloyingly sweet.
- 400 g granulated sugar: Standard granulated works beautifully—it dissolves cleanly without adding any competing flavors.
Tired of Takeout? 🥡
Get 10 meals you can make faster than delivery arrives. Seriously.
One email. No spam. Unsubscribe anytime.
Instructions
- Prepare your lemons with intention:
- Run them under hot water and scrub firmly with your fingers or a soft brush to remove any residue, then pat them completely dry—any moisture will dilute your alcohol. This step takes just a few minutes but makes a real difference in the final clarity and purity of flavor.
- Peel with precision:
- Using a vegetable peeler held at a shallow angle, remove just the bright yellow zest, leaving behind the bitter white pith. You'll want thin strips that look almost translucent when held to light—too much white pith tastes harsh and medicinal.
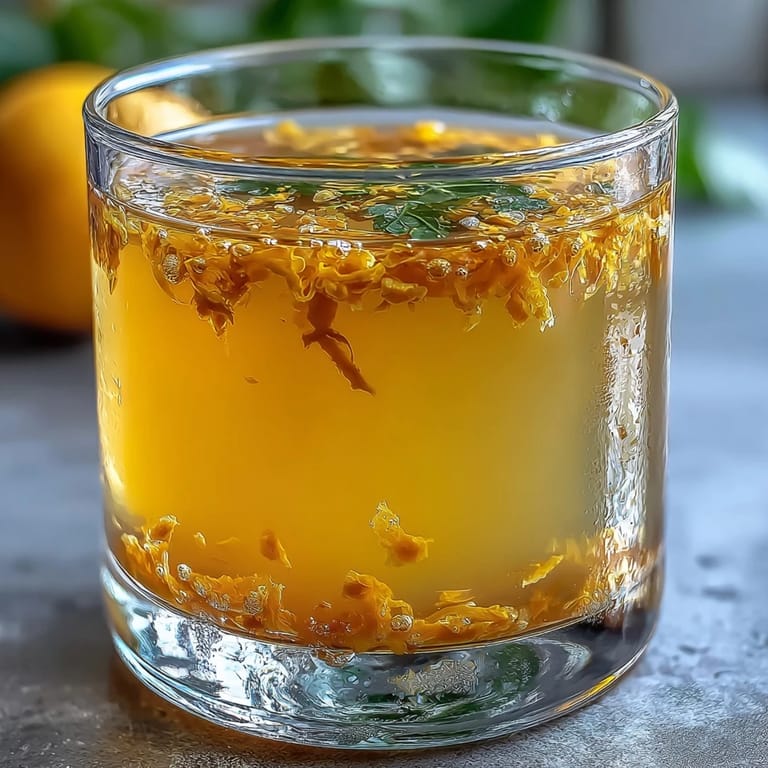
- Begin the infusion:
- Drop all your zest into a spotlessly clean glass jar, pour the alcohol over it until completely submerged, and seal it tightly. The jar should feel full and weighted down by the zest, creating that golden ocean of alcohol.
- Wait with patience:
- Stash the jar somewhere cool and dark—a cabinet or basement shelf works perfectly—and gently shake it every two days for 10 to 30 days. You'll watch the alcohol gradually deepen in color as the oils and essences extract; longer infusion means deeper, more complex flavor.
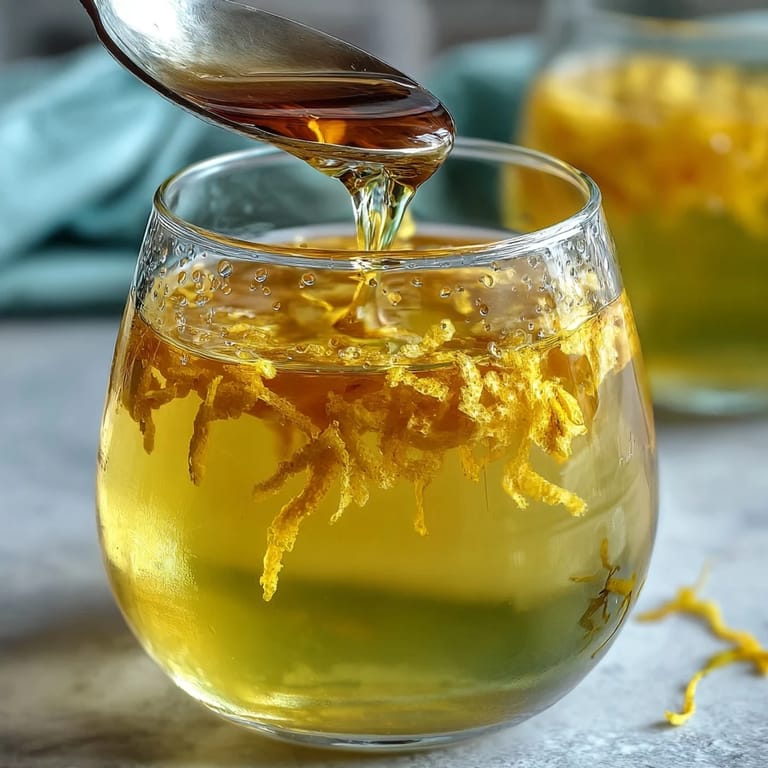
- Create the syrup base:
- Combine water and sugar in a saucepan over gentle heat, stirring occasionally until the sugar dissolves completely and the mixture looks clear and syrupy. Let it cool entirely before moving forward—warm syrup will thin out your carefully concentrated alcohol.
- Strain with care:
- Pour the infused alcohol through a fine mesh strainer or cheesecloth into a clean bowl, letting every drop pass through while leaving the zest behind. Press gently on the zest with the back of a spoon, but don't squeeze hard or you'll push through bitter particles.
- Marry the two elements:
- Combine the cooled syrup with your strained lemon alcohol in a large pitcher or bowl, stirring slowly and thoroughly to integrate them evenly. The mixture should be luminous and unified, not separated.
- Bottle for the final rest:
- Pour into sterilized bottles with airtight seals, leaving a tiny bit of headspace, and let them sit undisturbed for at least 7 days. This resting period allows all the flavors to marry and mellow into something rounded and sophisticated.
- Serve with ceremony:
- Keep your bottles in the freezer and pour small glasses of limoncello when you want to finish a meal or celebrate a moment. The chill makes it incredibly smooth, and those tiny, delicate sips are exactly how it's meant to be enjoyed.
 Save
Save The moment I handed a bottle to Maria, she actually teared up—she said it tasted just like what her grandmother used to make, which meant the world to me. That's when I realized limoncello isn't really about the spirit or the sugar; it's about capturing a specific moment and emotion in a bottle, and then sharing it with the people you care about.
Why Patience is Your Secret Ingredient
I know waiting 10 to 30 days feels like forever, especially when you can smell that golden, lemony promise sitting in your cabinet. But here's what I've learned: those days aren't wasted time—they're when all the magic actually happens. The longer the zest sits in alcohol, the more completely it surrenders its oils and aromatics, building layers of flavor you simply can't rush. I've tried cutting corners and infusing for just a week, and the result was noticeably thinner and less complex.
The Freezer is Non-Negotiable
Limoncello needs to be served ice-cold, almost frozen, because the chill smooths out any harsh edges and makes each sip feel luxurious and refined. I used to serve mine at room temperature thinking I was being sophisticated, and it tasted thin and boozy instead of the silky, elegant digestif it's supposed to be. The first time I pulled a bottle from the freezer and poured a proper ice-cold glass, everything clicked—the flavor became brighter, the texture creamier, and I finally understood why Italian nonnas serve it this way.
Gifting and Storage Wisdom
A handmade bottle of limoncello wrapped nicely is honestly one of the most memorable gifts you can give because it feels both luxurious and personal, plus it lasts. Stored in the freezer in a tightly sealed bottle, your limoncello will keep for months, even longer, aging gracefully and becoming smoother as time passes. Just make sure your bottles are truly airtight and kept in a dark, cool place if you're not using the freezer.
- Consider using vintage-looking bottles or elegant labels to make your gift feel extra special and intentional.
- A small handwritten card explaining the infusion process adds a lovely personal touch that people genuinely appreciate.
- If you're making multiple batches, try experimenting with Meyer lemons or even a combination of regular and Meyer for a more floral, nuanced version.
 Save
Save Making limoncello taught me that sometimes the best things in life really do come from slowing down and trusting the process. Every bottle you make becomes a small piece of joy, waiting patiently in your freezer for the right moment to shine.