 Save
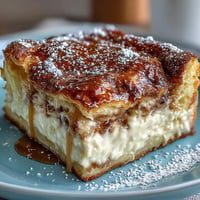
Save I discovered these by accident one Saturday morning when I had thawed hash browns sitting in my fridge and a waffle iron I'd been meaning to use for something other than sweet breakfasts. The moment that first waffle came out of the iron, golden and crackling, I knew I'd stumbled onto something special. The crispy exterior gave way to this gooey, cheesy center that felt like an indulgent breakfast hack nobody had told me about. My partner walked into the kitchen, smelled the sharp cheddar and garlic, and I didn't even have to explain—they just grabbed a plate and sat down.
The real test came when I made these for a group of friends who showed up hungover on a Sunday afternoon. I wasn't sure how a savory waffle would land, but watching their skepticism turn into genuine surprise—and then seconds—told me everything I needed to know. One friend asked if they could have the recipe before they'd even finished eating, which is my favorite kind of compliment.
Ingredients
- Frozen shredded hash browns (3 cups, thawed): The foundation of these waffles, and the secret to their crispy-chewy texture; thawing them first and then patting them completely dry is what stops them from turning into a soggy mess.
- Sharp cheddar cheese (1 cup shredded): The sharp variety gives you that distinct, almost tangy flavor that keeps these from tasting one-dimensional; mild cheddar will work but won't have the same character.
- Parmesan cheese (¼ cup grated): This adds a salty, umami punch that makes people taste something they can't quite name and keeps asking what that flavor is.
- Large eggs (2): These act as your binder and help everything hold together without making the waffles dense or eggy-tasting.
- Green onions (2, finely sliced): A small detail that adds brightness and a whisper of allium flavor; use the white and light green parts for more punch.
- All-purpose flour (¼ cup): Just enough to help bind everything without making these taste like a bread product; too much and you've lost what makes them special.
- Garlic powder, onion powder (½ teaspoon each): These deepen the savory flavor in a way that feels more sophisticated than just salt and pepper alone.
- Salt and black pepper (½ teaspoon and ¼ teaspoon): Season generously here because potatoes can handle it, and this is where you adjust the final taste to your liking.
Tired of Takeout? 🥡
Get 10 meals you can make faster than delivery arrives. Seriously.
One email. No spam. Unsubscribe anytime.
Instructions
- Get your iron ready:
- Preheat the waffle iron while you're gathering ingredients—it should be hot enough that water droplets sizzle and bead up on the surface. A light coating of nonstick spray prevents sticking better than you'd expect.
- Combine everything:
- Throw all your ingredients into a bowl and mix until the potatoes are evenly coated and the whole mixture is slightly sticky; this is where you check your seasoning and adjust salt if needed. Don't overmix or you'll lose the texture you're after.
- Load and cook:
- Scoop about a cup of mixture onto the center of the iron and gently spread it to the edges, leaving a tiny border; you want just enough pressure to help it cook evenly without crushing the potatoes. Close the lid and listen for the sizzle to get quieter, which usually means you're about five to seven minutes in depending on your iron's personality.
- Check for crispness:
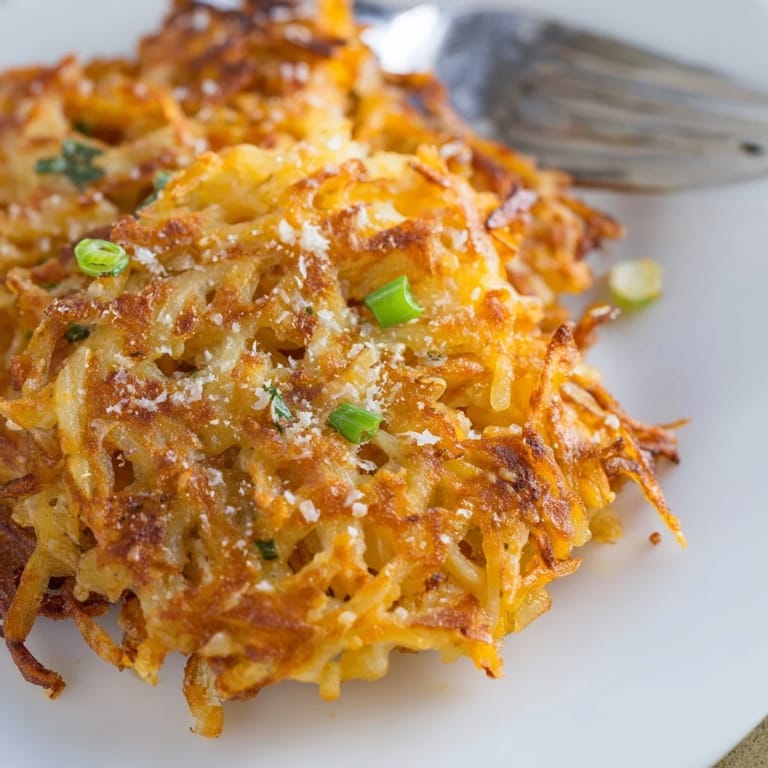
- The waffles are ready when they're deep golden brown and you can peek at the edges without them sticking; a little steam will release when you open the iron, and that's exactly what you want. If they resist when you lift with a spatula, give them another minute.
- Serve right away:
- These are best the moment they come out, while the outside is still crackling and the cheese is at peak meltiness. Top with sour cream, fresh chives, hot sauce, or whatever feels right.
 Save
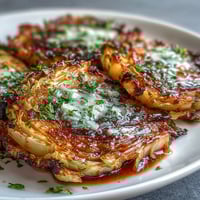
Save There's something almost meditative about standing in front of the waffle iron on a lazy morning, knowing that in a few minutes you'll have something that tastes restaurant-quality and yet required almost no effort. It's become the kind of breakfast I make when I want to feel like I've done something special for myself or the people I'm feeding, which is its own kind of magic.
Flavor Swaps Worth Trying
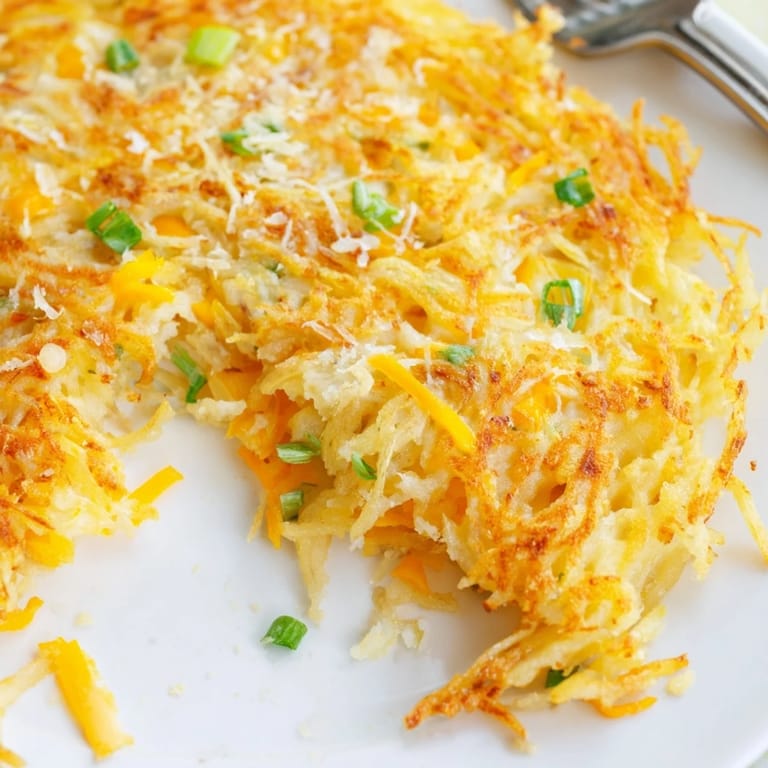
Once you understand the basic formula, you can start playing around without losing what makes these work. Pepper jack cheese instead of cheddar leans into heat and a slightly smoky flavor, while mozzarella takes everything in a milder, almost gooier direction that some people prefer. I've added crumbled cooked bacon and gotten compliments that made me feel like a genius, even though I literally just folded it into the mixture. Diced bell peppers, caramelized onions, or even leftover roasted broccoli work too—the key is keeping your mix relatively dry so the waffles stay crispy instead of turning into a potato soup situation.
Make Ahead and Freezing Strategies
The best part about these waffles is that they freeze better than anything else I've made, which feels almost unfair given how good they taste. Let them cool completely, stack them with parchment paper between each one, and freeze them in an airtight container for up to a month. On a morning when you're rushed or unmotivated, just pop one straight into the toaster and you'll have crispy, melted-cheese goodness in about two minutes flat.
The Setup That Changes Everything
If you're serious about making these regularly, keep a simple station: waffle iron ready to go, nonstick spray within arm's reach, and a cooling rack nearby so the waffles don't steam themselves soft. This is also where I've learned that the spatula matters—a thin, flexible one removes them cleanly without breaking the crispy edges. A few small habits make the whole process feel effortless rather than fussy.
- Pat your thawed hash browns until they look almost dry to the touch for the crispiest result.
- Don't skip the Parmesan because it adds a subtle depth that cheddar alone can't achieve.
- Serve immediately or freeze them before they cool completely to maintain the best texture later.
 Save
Save These waffles have somehow become my go-to when I want to cook something that feels memorable without requiring a recipe to consult halfway through. There's a confidence in pulling them out of the iron crispy and golden, knowing someone's about to have a genuinely good moment eating them.