 Save
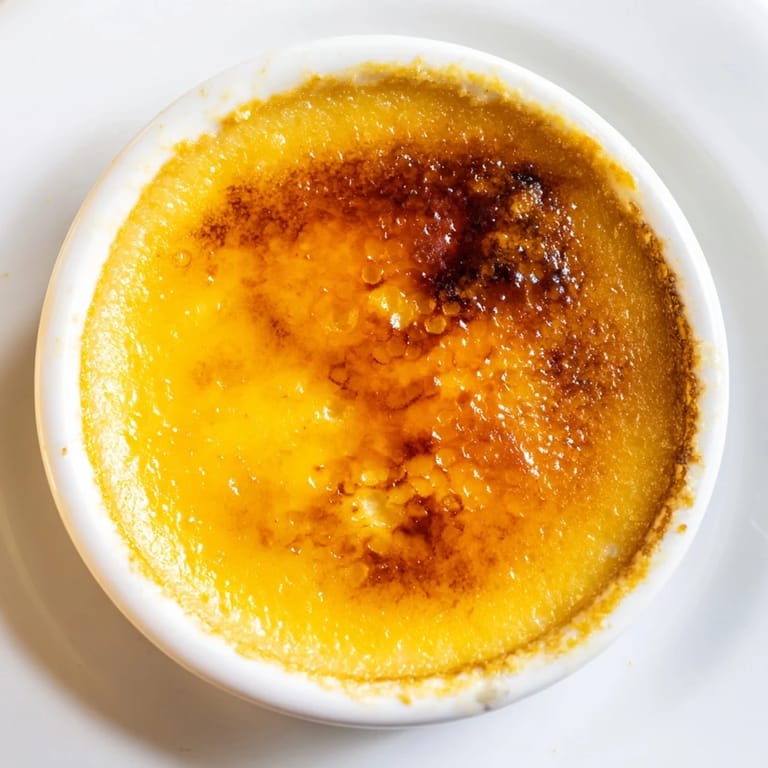
Save The first time I made crème brûlée, I was terrified of those three simple ingredients. Standing in my kitchen with heavy cream, egg yolks, and sugar, I thought: how could something this minimal become that silky, luxurious dessert I'd tasted at a restaurant? That moment of doubt dissolved the instant I heard the torch crack through that caramelized sugar top, and suddenly I understood why the French guard this recipe so fiercely. Now it's become my secret weapon for impressing people without spending hours in the kitchen.
I made this for my partner on our anniversary, using the torch technique, and watching their eyes light up when they heard that caramelized shell shatter was worth every bit of nervousness I had about the water bath. They kept saying they couldn't believe I'd made it at home, which felt like winning the lottery in that moment.
Ingredients
- Heavy Cream (2 cups): This is where all the richness lives; don't skip it for half-and-half or milk, or you'll lose that velvet texture that makes crème brûlée worth eating.
- Egg Yolks (4 large): The yolks are your custard's backbone, and using large ones gives you the best ratio for that set-but-still-jiggly center.
- Granulated Sugar (1/2 cup plus 4 tablespoons): You need enough to sweeten the custard and create that crispy topping, and I've learned that regular granulated sugar works better than turbinado or demerara for the smoothest texture.
Tired of Takeout? 🥡
Get 10 meals you can make faster than delivery arrives. Seriously.
One email. No spam. Unsubscribe anytime.
Instructions
- Heat the Cream Gently:
- Pour your cream into a saucepan and watch it like a hawk over medium heat until it steams and you see tiny bubbles forming around the edges. You want it hot enough to cook the eggs but not boiling, which sounds fussy but makes all the difference in avoiding scrambled egg bits.
- Whisk Yolks and Sugar Together:
- In a separate bowl, whisk the four egg yolks with the 1/2 cup sugar until the mixture turns pale yellow and ribbony, which takes about 2–3 minutes of honest whisking. This is where you're aerating the eggs to help them set properly in the oven.
- Temper the Eggs:
- This is the nervous part: slowly pour that hot cream into the egg mixture while whisking constantly, as if you're trying to hypnotize the custard into submission. Adding it slowly prevents the eggs from scrambling, which I learned the hard way when I got impatient my first attempt.
- Strain for Smoothness:
- Push everything through a fine sieve into a measuring cup, pressing gently on any bits that don't pass through. This step removes tiny cooked egg particles and any sugar granules that didn't dissolve, leaving you with that restaurant-quality silky finish.
- Fill and Water Bath:
- Divide the custard among four ramekins, then nestle them in a deeper baking dish and pour hot water around them until it reaches halfway up the sides. The water bath ensures the custards cook gently and evenly, like they're taking a warm bath while baking.
- Bake Until Just Set:
- Into a 325°F oven they go for 30–35 minutes—you're looking for the centers to jiggle just slightly when you give the ramekin a gentle shake, not firmly set. The carryover cooking continues when you pull them out, so don't overbake or you'll end up with scrambled custard.
- Chill Thoroughly:
- Let them cool to room temperature first, then slide them into the fridge for at least an hour, though overnight is even better. This resting time lets the flavors settle and makes the custard firm enough to hold that caramelized topping.
- Caramelize the Top:
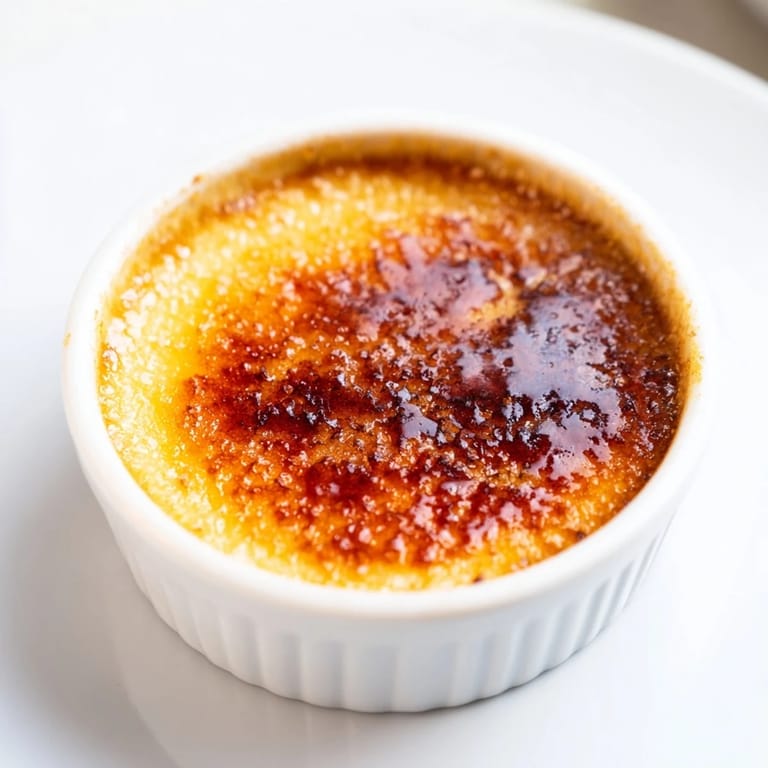
- Just before serving, sprinkle an even tablespoon of sugar over each custard and use your kitchen torch to melt it into a golden, crispy shell, moving the flame in circles. If you don't have a torch, pop them under the broiler for 1–2 minutes, watching obsessively so it doesn't burn.
 Save
Save There's something almost magical about the moment when a friend picks up their spoon, taps it against that caramelized sugar, and hears it crack. That sound means you've nailed it, and it transforms a simple dessert into a tiny theater production at the dinner table.
Making It Your Own
While the three-ingredient version is pure and perfect, I've started infusing the cream with a split vanilla bean or the zest of a lemon, adding those flavors before heating and letting them steep while the cream warms. Even a pinch of fleur de sel sprinkled over the caramelized top right before serving adds this unexpected savory whisper that makes people pause and ask what you did differently.
Timing and Patience
The 2-hour timeline sounds long, but most of that is hands-off—the custard is baking or chilling while you're doing something else. I like making crème brûlée earlier in the day or even the day before, which means you're never rushing, and the flavors have time to develop in that quiet fridge time.
A Few Final Thoughts
The torch method feels theatrical and gives you control, but honestly, the broiler works just as well if you stay close and don't let your attention wander. Serve these with fresh berries, a sprig of mint, or completely naked if you want the custard and caramel to be the only voices in the room.
- Test your oven temperature with a thermometer because even a 10-degree difference changes how the custard sets.
- If your custard cracks while baking, it overcooked slightly—next time pull it out a minute earlier, when the center still jiggles.
- Make these up to two days ahead and caramelize just before serving, which is a huge stress reliever when you're entertaining.
 Save
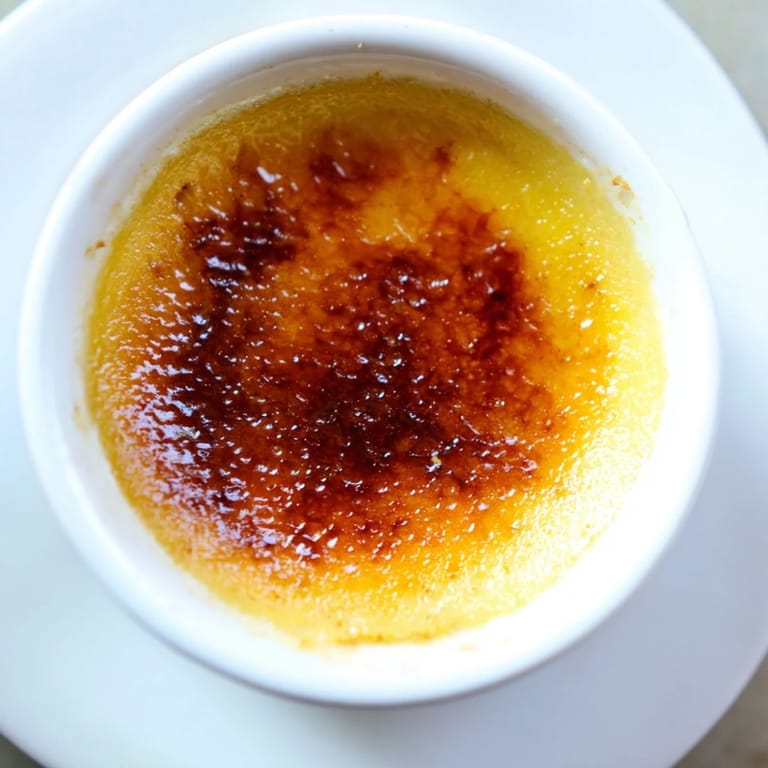
Save This recipe proved to me that sometimes the most impressive things come from respecting simple ingredients and not overthinking them. Every time you make it, you're part of a tradition that goes back centuries, and that's something special to carry into your kitchen.